Hello everybodehhh! :D Here's the post on the process of C's birthday cake tt i baked. It may seem complicated, but trust me, it's really easy! For the decoration of the cake, js let your imagination run wild! (: It's up to u, really.
What better way to show a loved one your love & gratitude for them, than to bake a cake filled with love from the bottom of your heart (:
For the cake:170g Butter120g Caster Sugar3 Eggs140g Self Raising Flour1 Tsp Vanilla Extract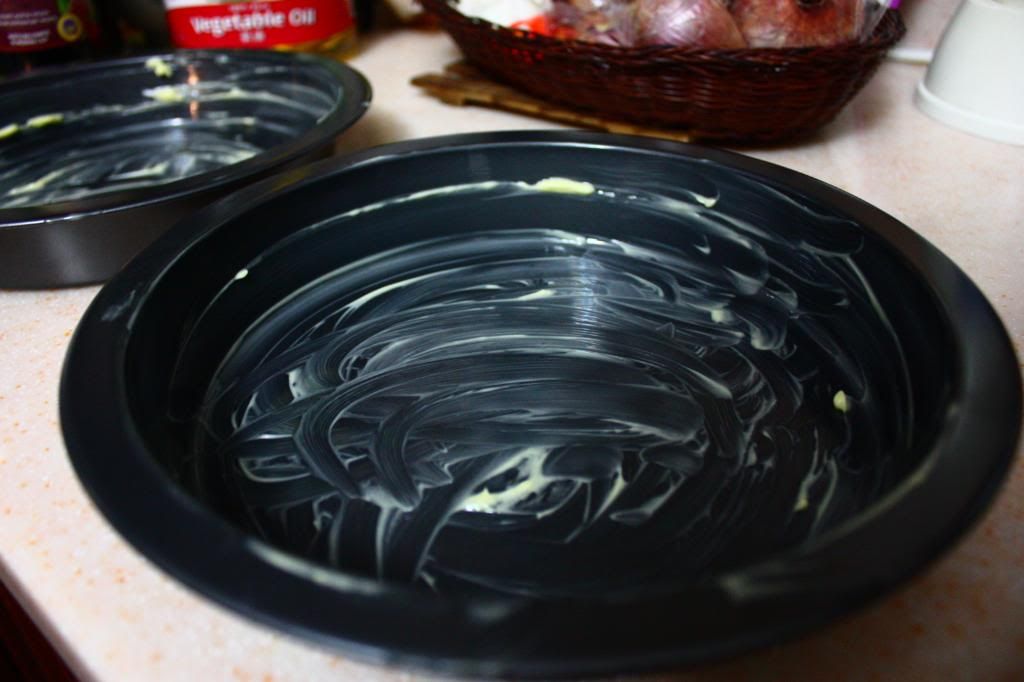
1. Preheat your oven to 180C & grease 2 round cake tin(8") w baking paper
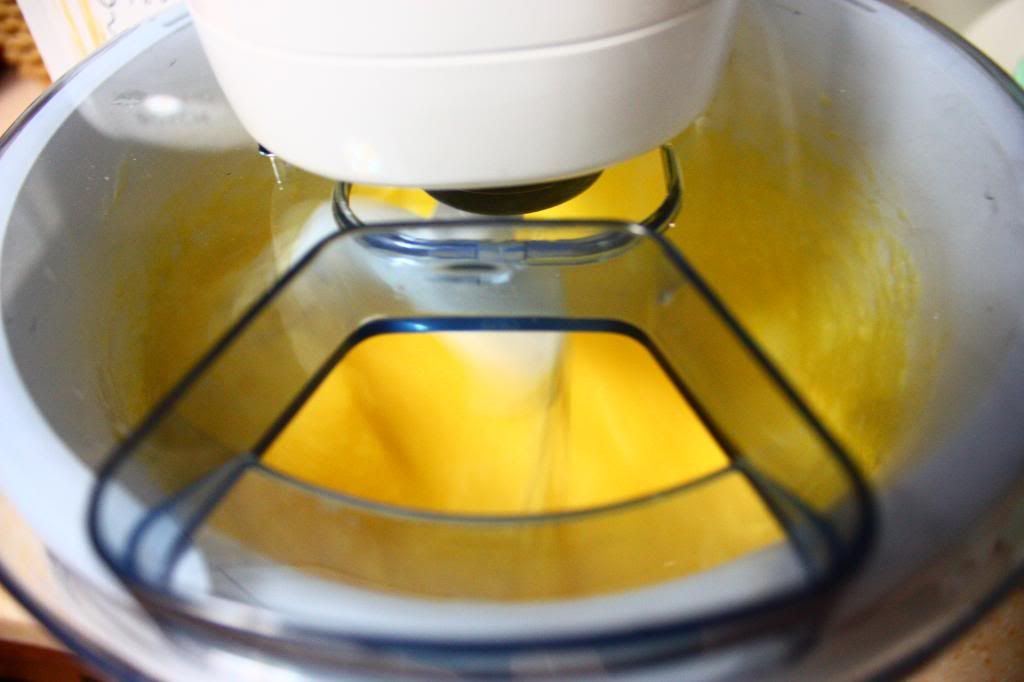
2. Mix butter & sugar until it's light & fluffy.
3. Add in the eggs 1 at a time. Add the Vanilla extract & mix well.
4. Sift Flour & fold into the mixture. (Do not whisk flour! Fold in flour using a spatula.)
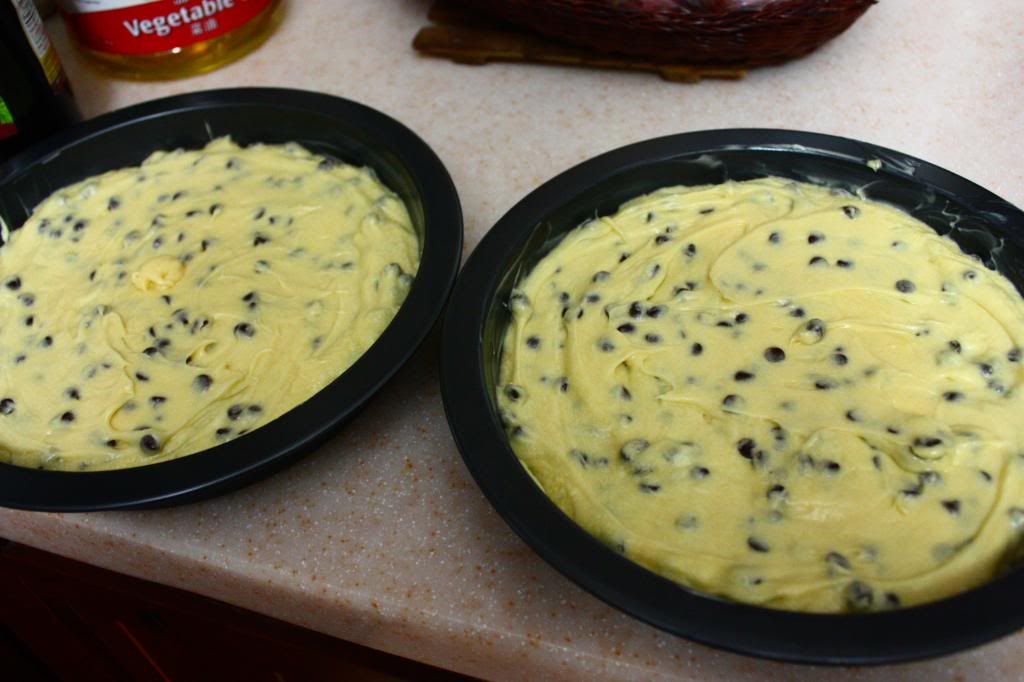
5. Spoon cake batter into the cake tins & spread evenly.
*Addition of choc chips is optional.
Bake for 20-25mins until it becomes golden brown.
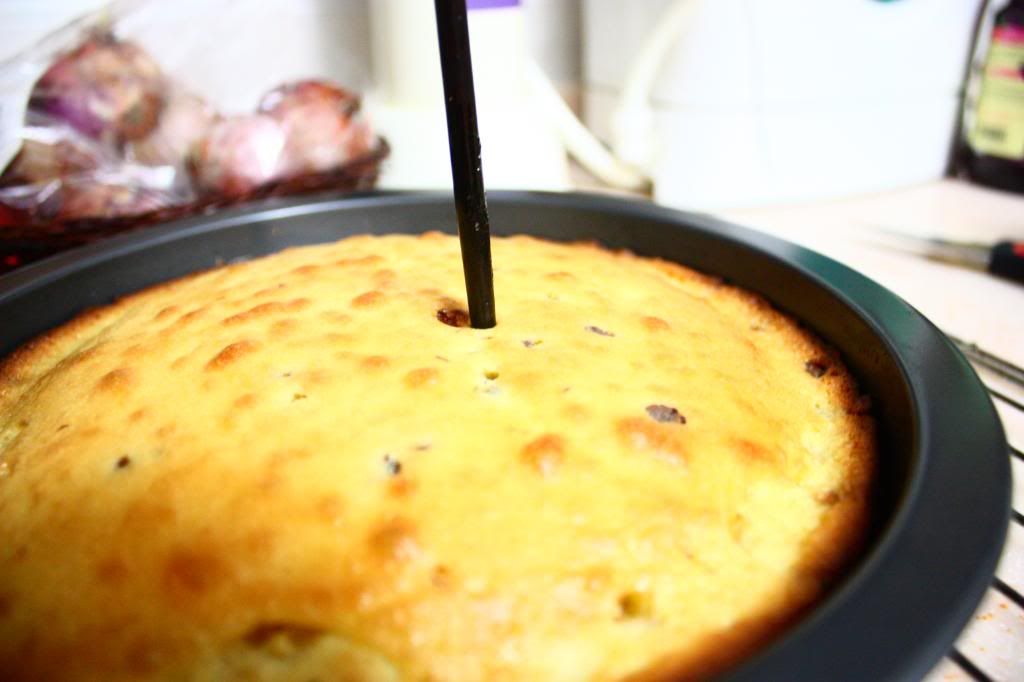
6. Insert a skewer/satay stick into the cake & if it comes out clean? It means your cake is cooked! (:
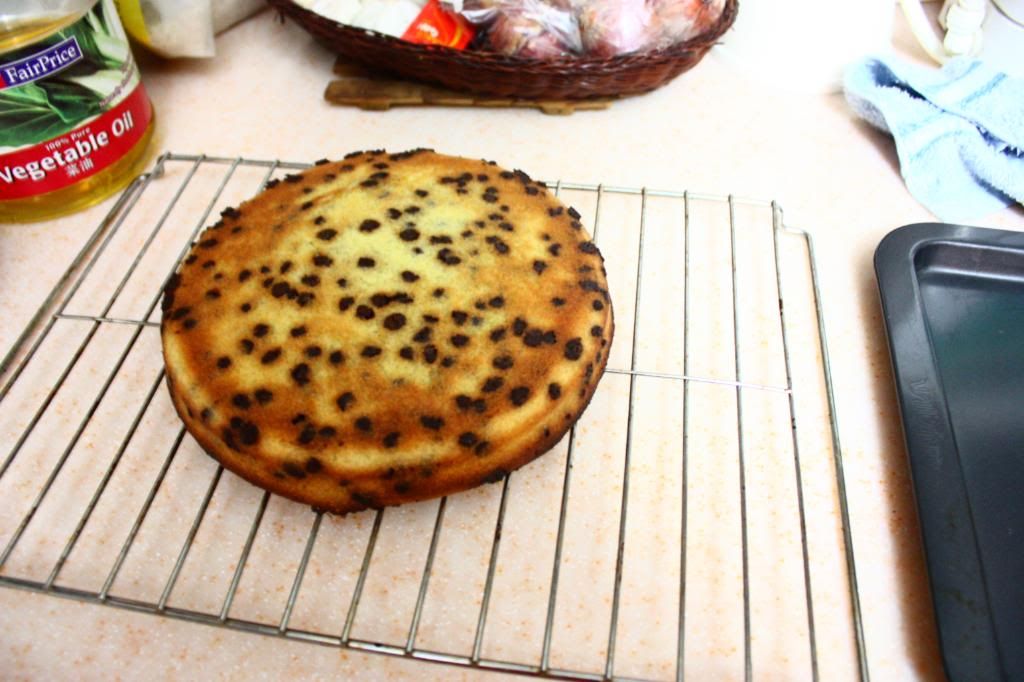
7. Turn cake out onto a wire rack & let it cool.
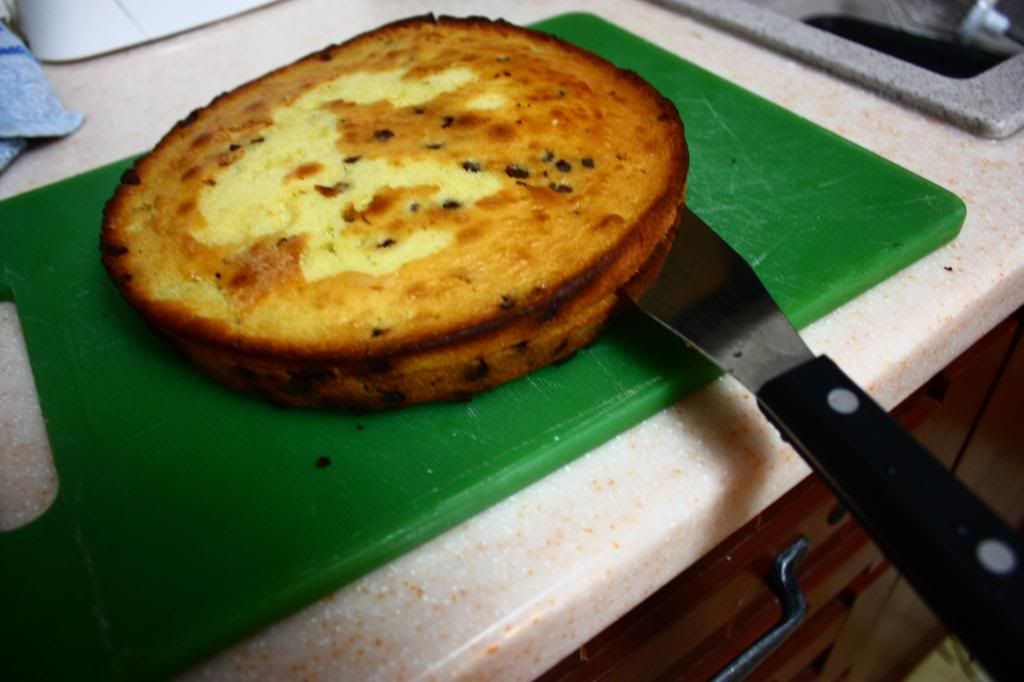
8. Once cooled, use a long knife to cut the dome of the cake so that it'll have a flat surface area instead of a bump on the top! (Covering the cake w fondant/icing sugar wld be easier & evenly coated.)
For the Coffee filling between the cake:200g Whipping Cream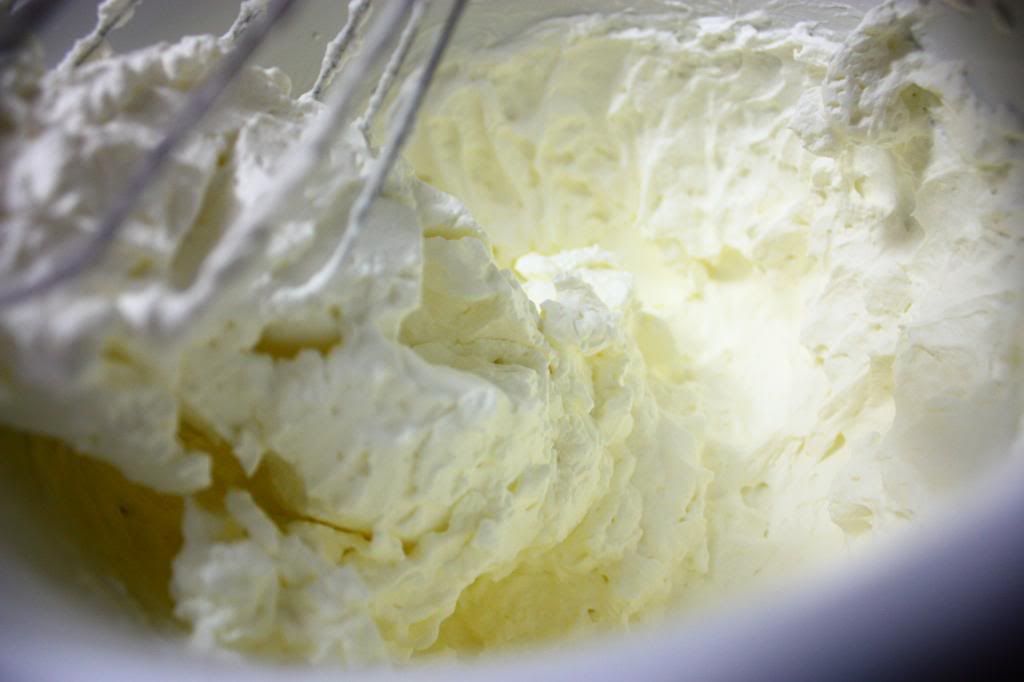
1. Whip cream until stiff peak forms, js like the pic shown above.
2. Add in a packet of Coffee Powder & mix well.
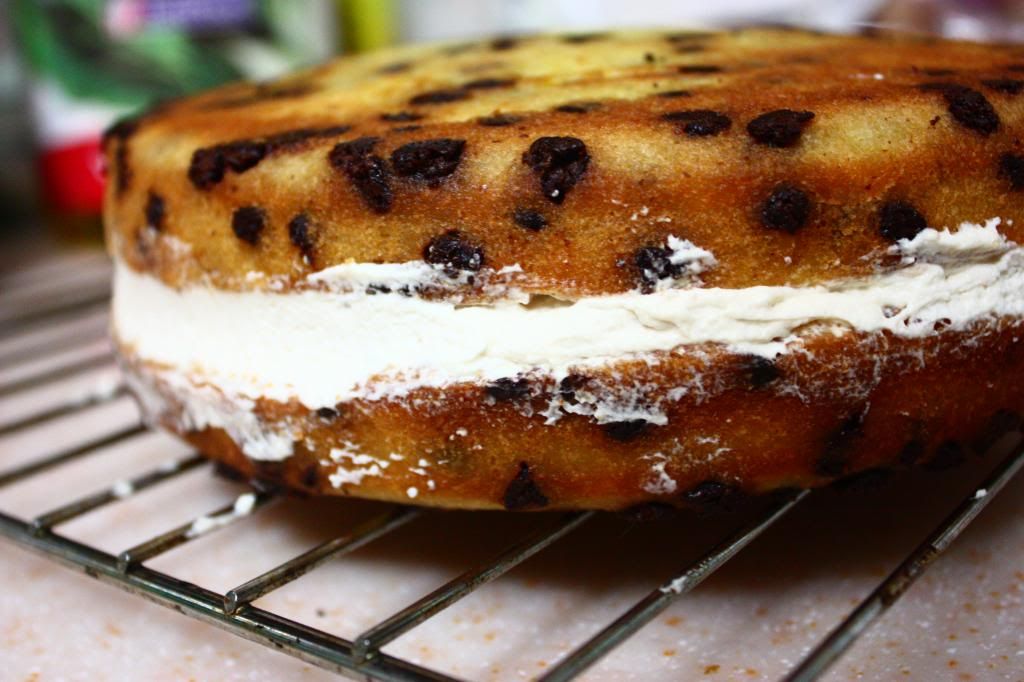
3. Spread the Coffee whipped cream in-between the 2 cakes.
For the icing:260g Icing Sugar, sifted110g Butter, room temp1/4 Tsp Vanilla Extract2 Tbsp Milk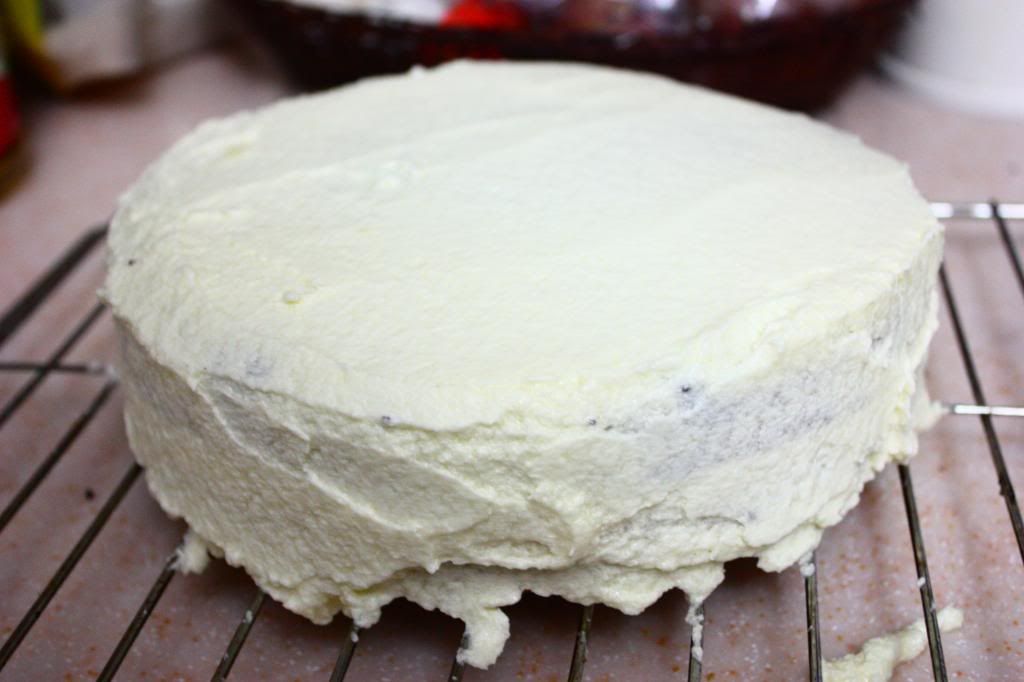
1. Beat the icing sugar, butter, vanilla & milk till it's smooth & creamy.
2. Spread it onto the cake.
*I used Butter cream to coat the cake. The above Icing recipe can also be used to coat the cake.
For the Fondant:
You can purchase a packet of Fondant from Phoon Huat.
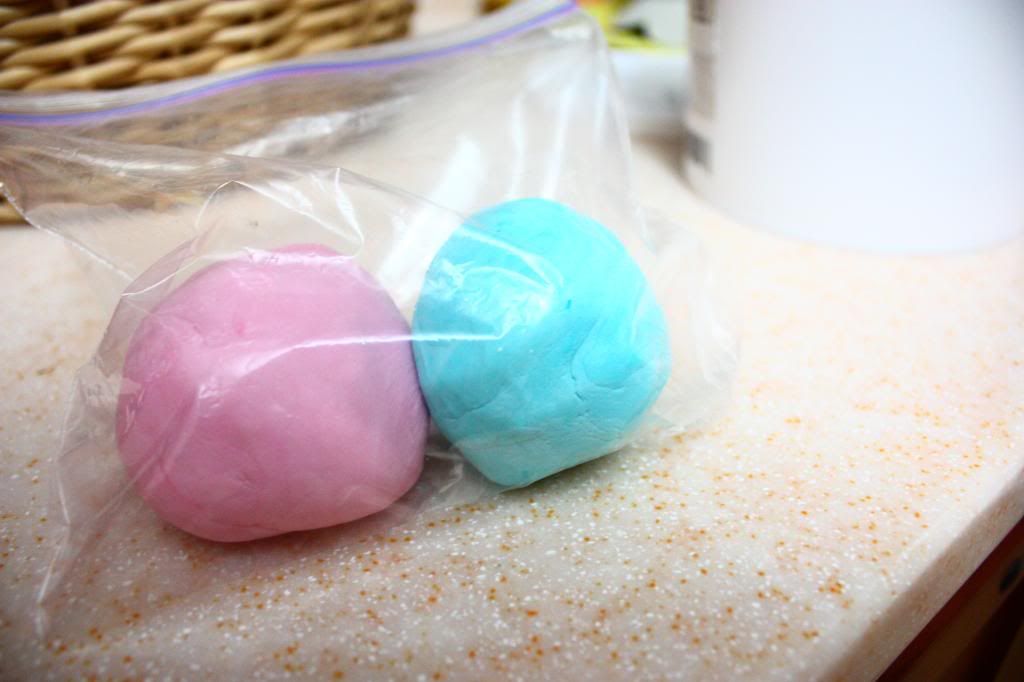
I coloured the fondant into 2 separate colours- Pink & Teal.
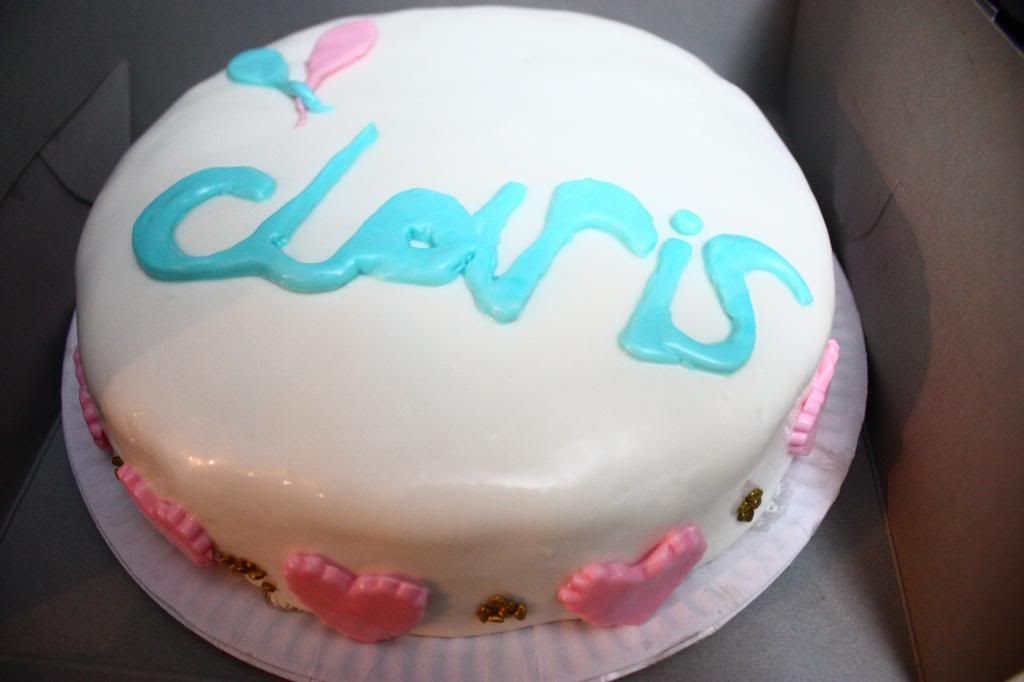
Roll out Fondant & place it over the cake. Press the fondant gently down onto the cake & cut away the excess.
*Use corn flour to prevent the fondant from sticking to the rolling pin or table.
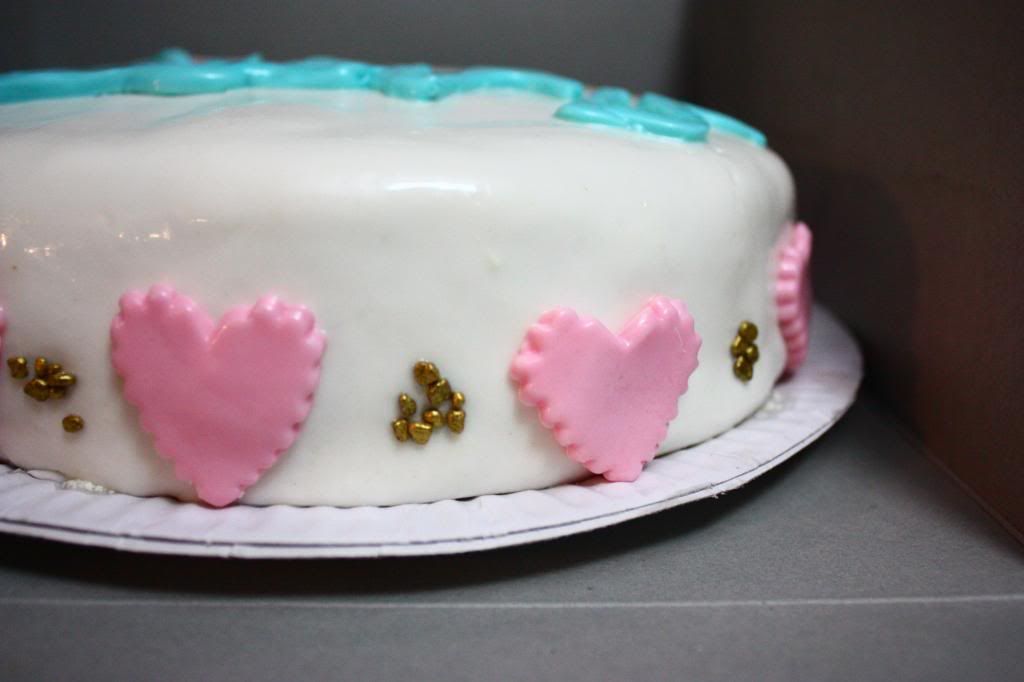
Decorate the cake w the fondant or other edible decorative ingredients.
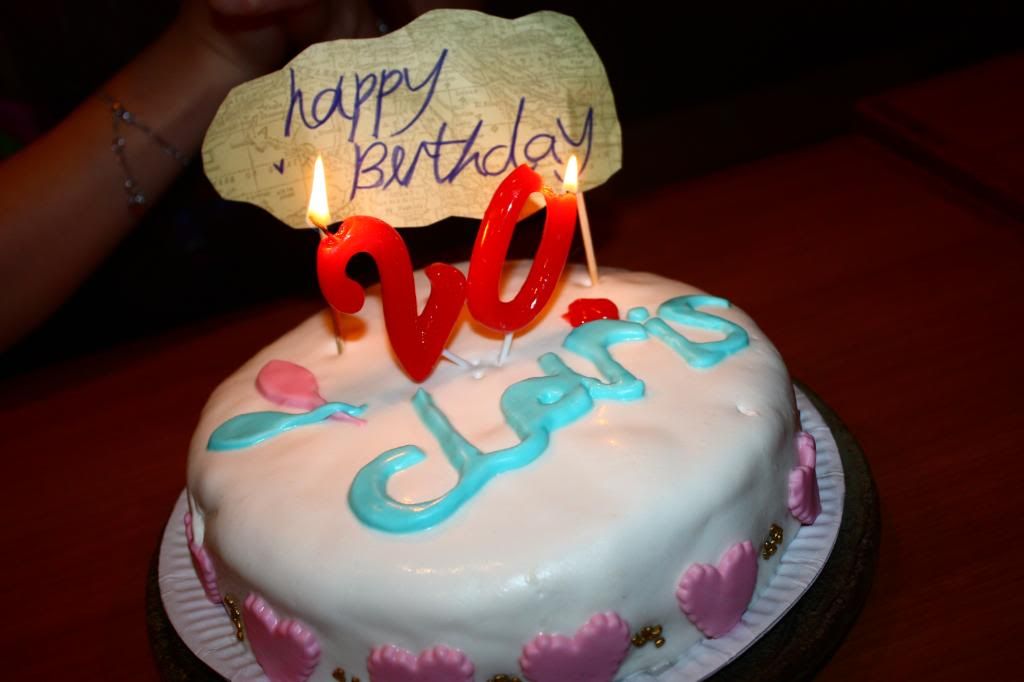
TA-DAH! End result (:
Hope my instructions w the help of some pictures were clear & understandable! (: If you hv any other qns, js formspring me k! It is located at the top left hand corner of my blog! (: